Facility Introduction Contents
In terms of facilities and equipment, we will comprehensively showcase the robust capabilities and professional expertise of Zhihui Precision to you from the following three dimensions:
Core Value of MES System
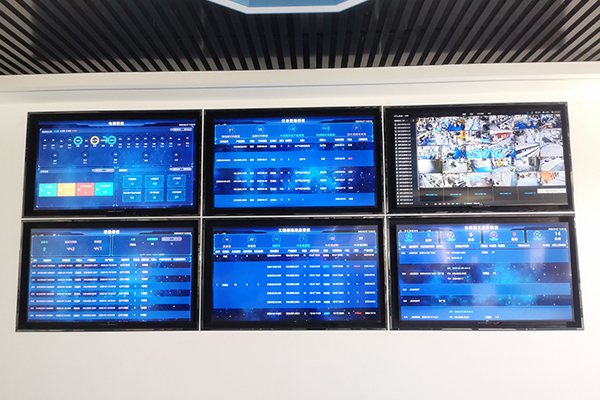
The core value brought by the MES system:
End-to-End Order Tracking: By monitoring order status in real time, the MES system ensures that every step from order receipt to delivery is clear and controllable, avoiding information gaps or delays.
Workpiece History Traceability: The system meticulously records the machining history of each workpiece, including the equipment, tools, machining parameters, and operators involved, facilitating quality traceability and issue analysis.
Real-Time Data Reporting: The MES system automatically generates real-time production reports, helping the Production Planning and Material Control (PMC) department dynamically track production progress and quickly respond to anomalies.
Precise Progress Control: Through visual dashboards and data analysis, the PMC department can understand the production status of each machine in real time, optimize resource allocation, and ensure production tasks are completed on schedule.
Dual Assurance of Quality and Delivery: The MES system not only ensures production progress but also integrates quality inspection functions to guarantee that every product meets customer quality requirements, achieving high-quality delivery.
Through the in-depth application of the MES system, our company can provide customers with more efficient, transparent, and reliable production services, ensuring that every order is delivered on time while meeting quality standards, helping customers gain a competitive edge in the market.

More factory-focused in managing processes, ordered steps, process flows, and equipment.
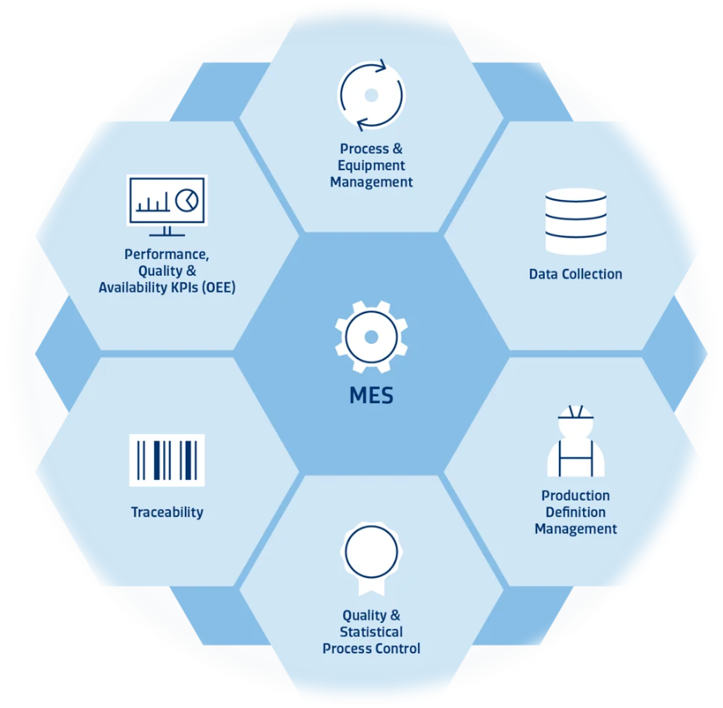

Lead times and processing status are visualized. Production processes are more scalable, predictable, and quality assurances are reliable and traceable.
Working Shop
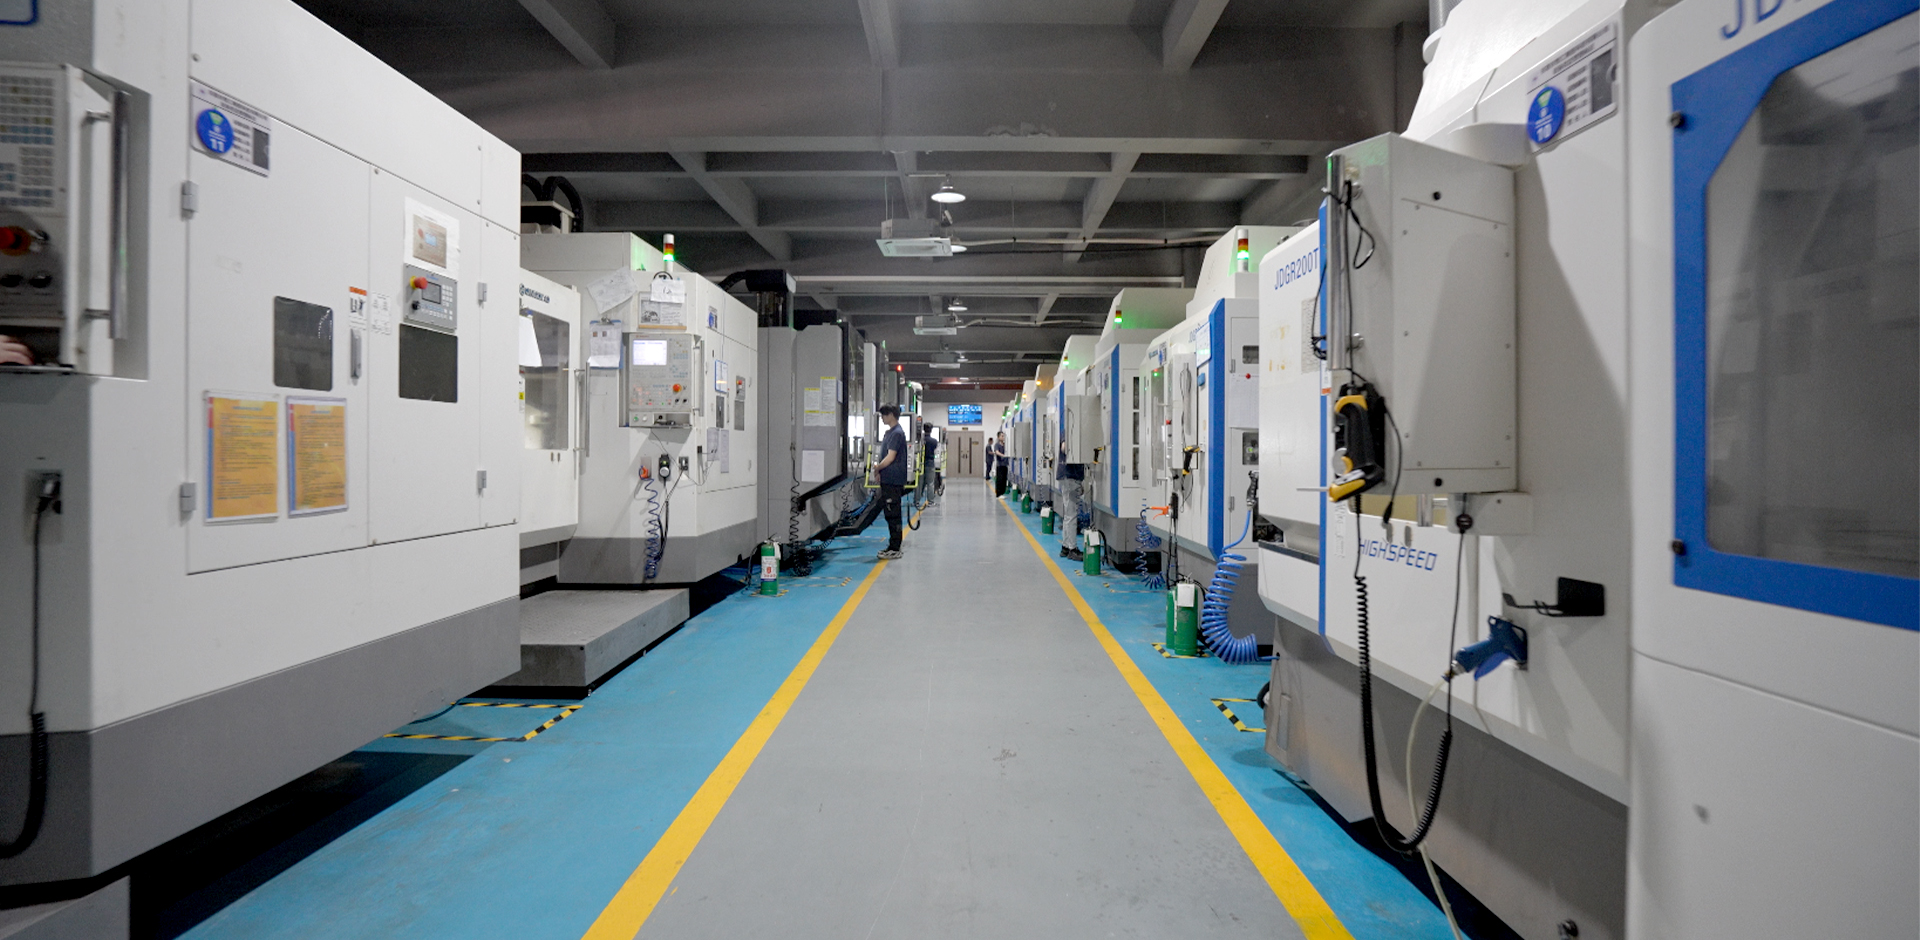
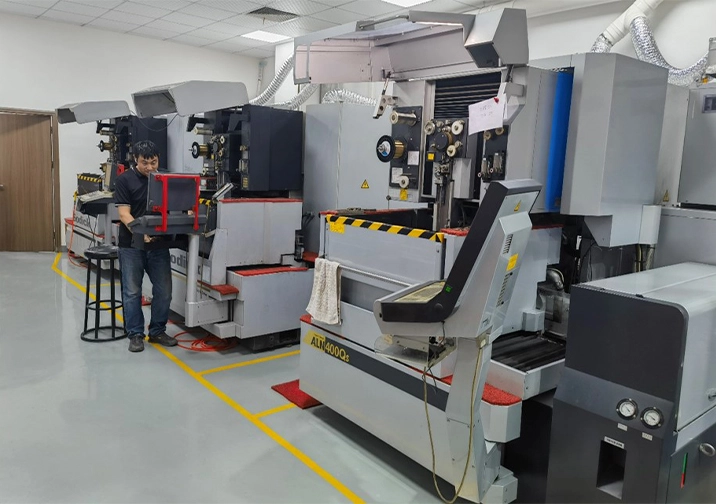
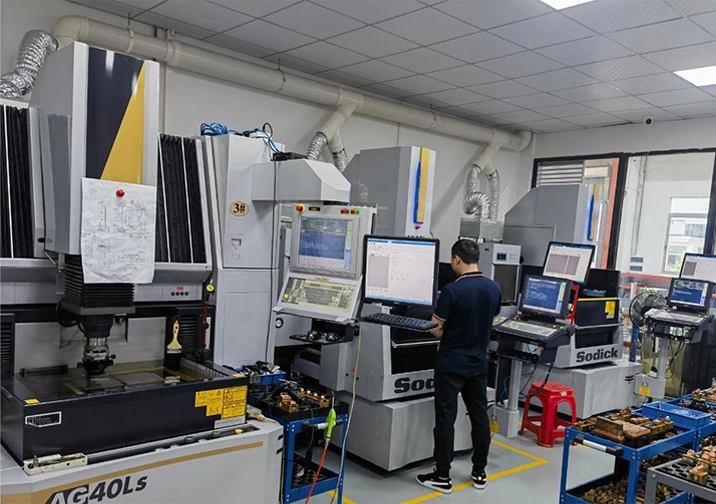
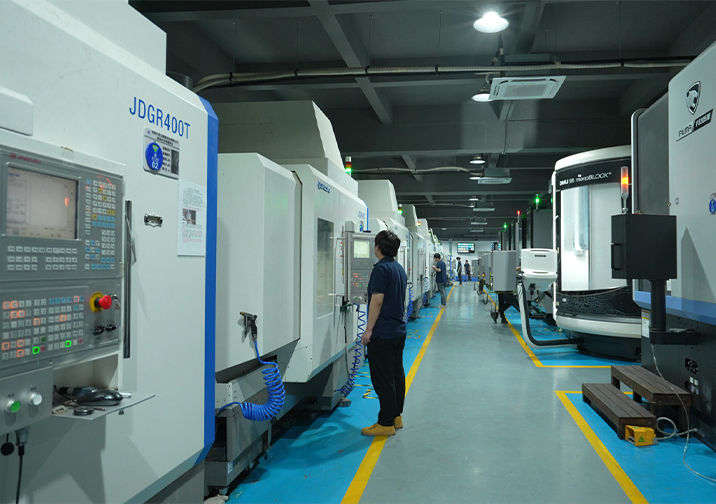
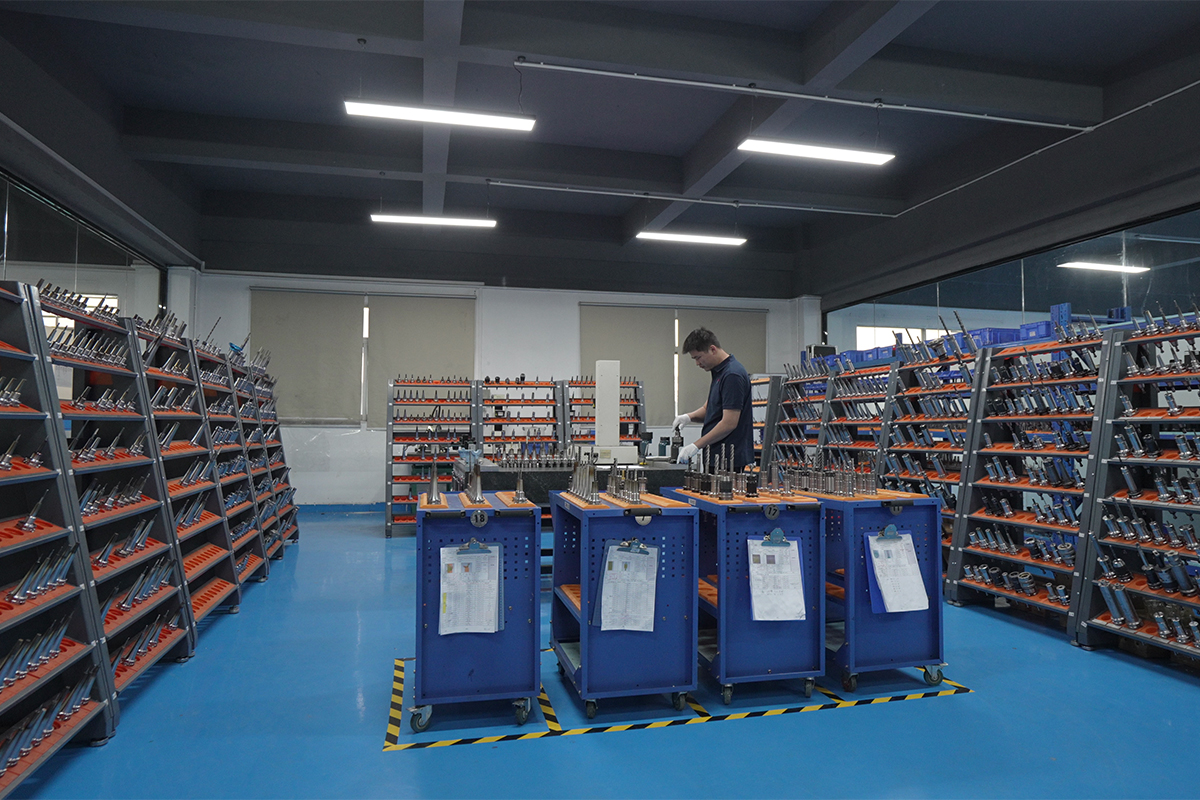
Zhihui Precision is committed to delivering products of exceptional quality and reliable performance. To ensure the continuous and stable operation of production equipment and to provide employees with a comfortable working environment, all our workshops are equipped with climate-controlled air conditioning systems. Additionally, we rigorously implement the 5S methodology (Sort, Set in order, Shine, Standardize, Sustain) to maintain an efficient, clean, and safe production environment.
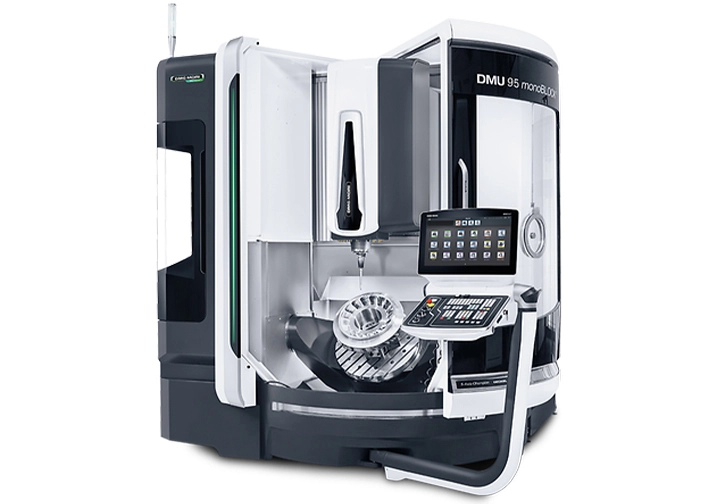
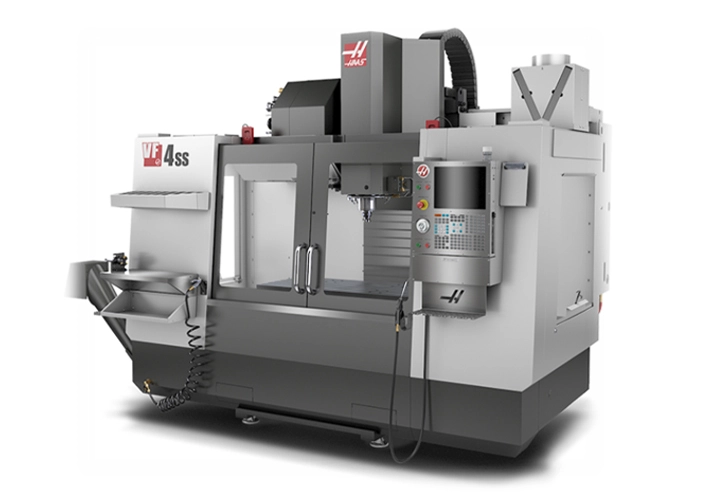
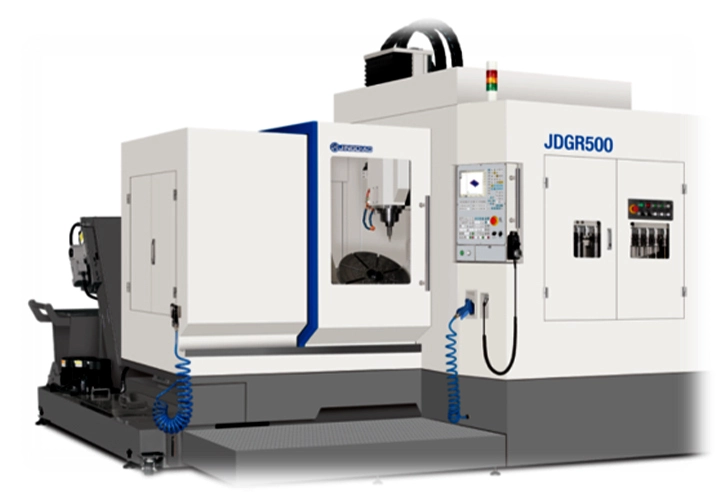
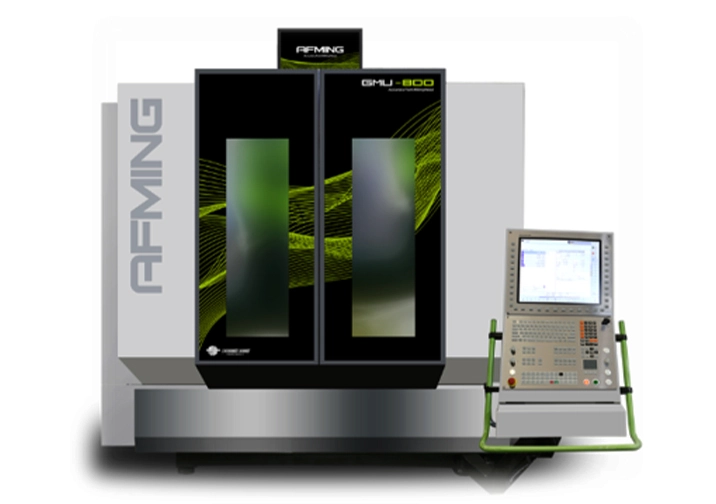
Machines Brand and Type
DMG MORI(5-Axis)
Haas(4-Axis)
JD(5-Axis)
AFMING(5-Axis)
Tolerance Standards
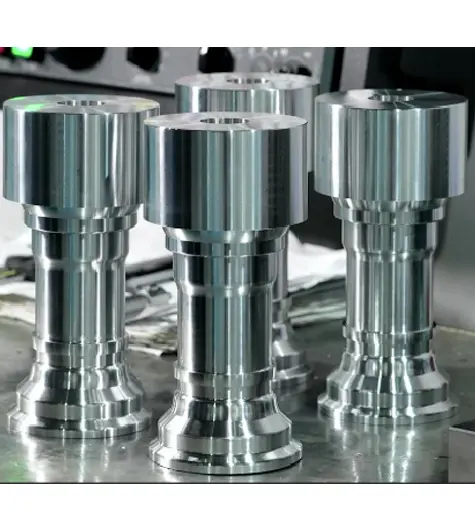
Zhihui Precision maintains strict tolerance standards of ±0.002-0.005 mm for both metal and plastic components, ensuring the highest level of precision.
Lathe Type and Brand
DOOSAN
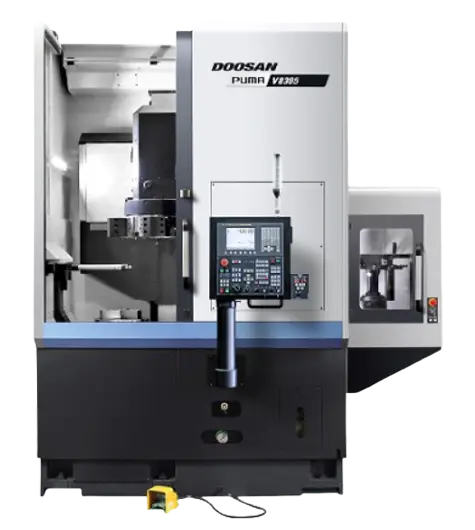
Vertical
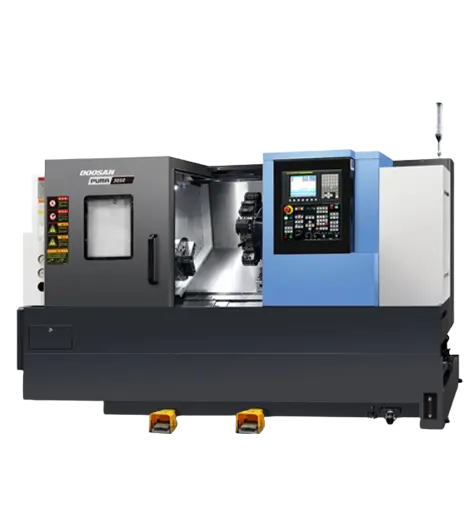
Horizontal
Tolerance Standards
Zhihui Precision maintains strict tolerance standards of ±0.002-0.005 mm for both metal and plastic components, ensuring the highest level of precision.
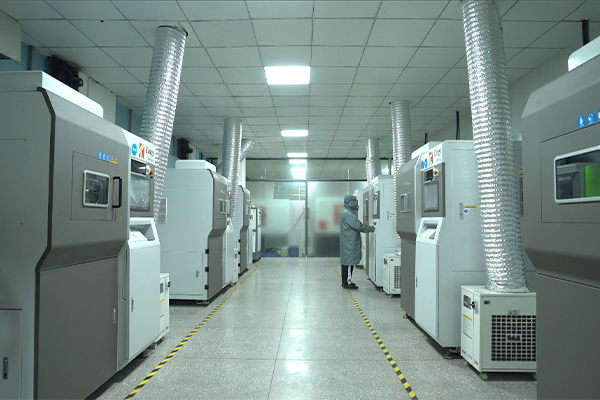
Stereolithography (SLA, Laser Sintering (SLS), Multi-Jet Fusion (MJF), Metal Laser Sintering (SLM).
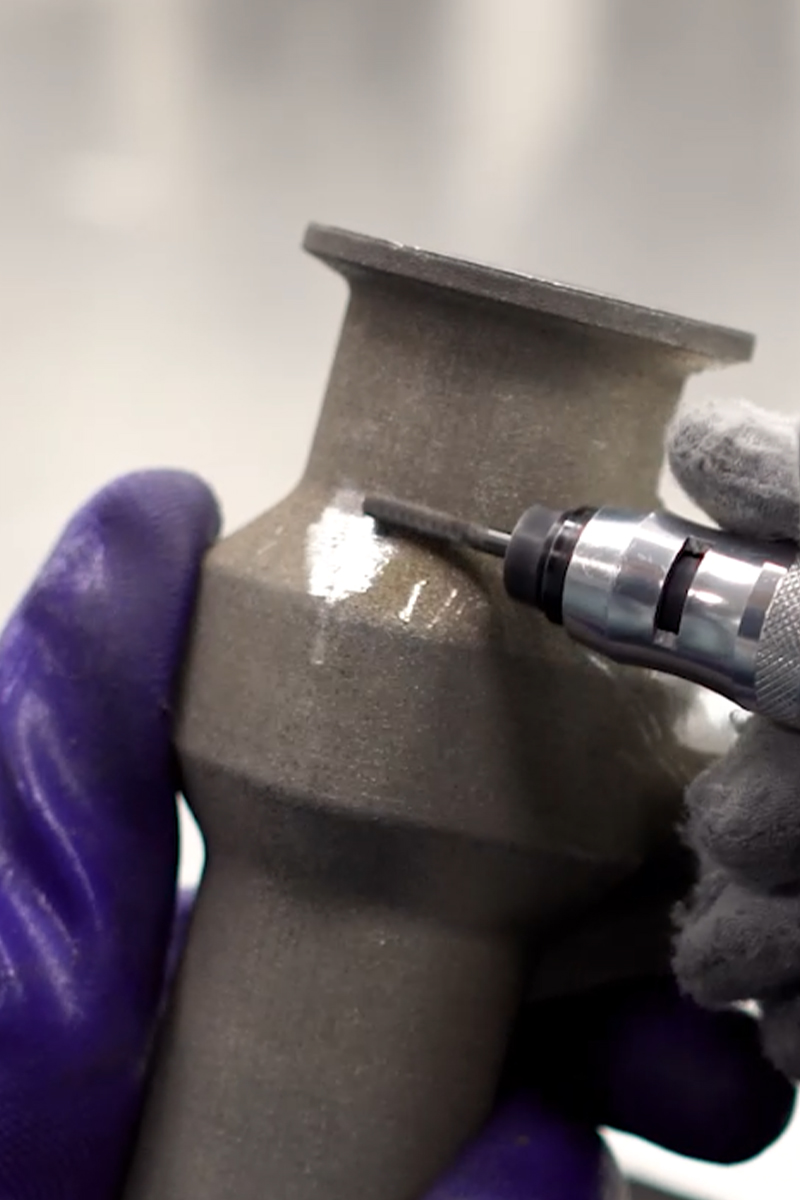
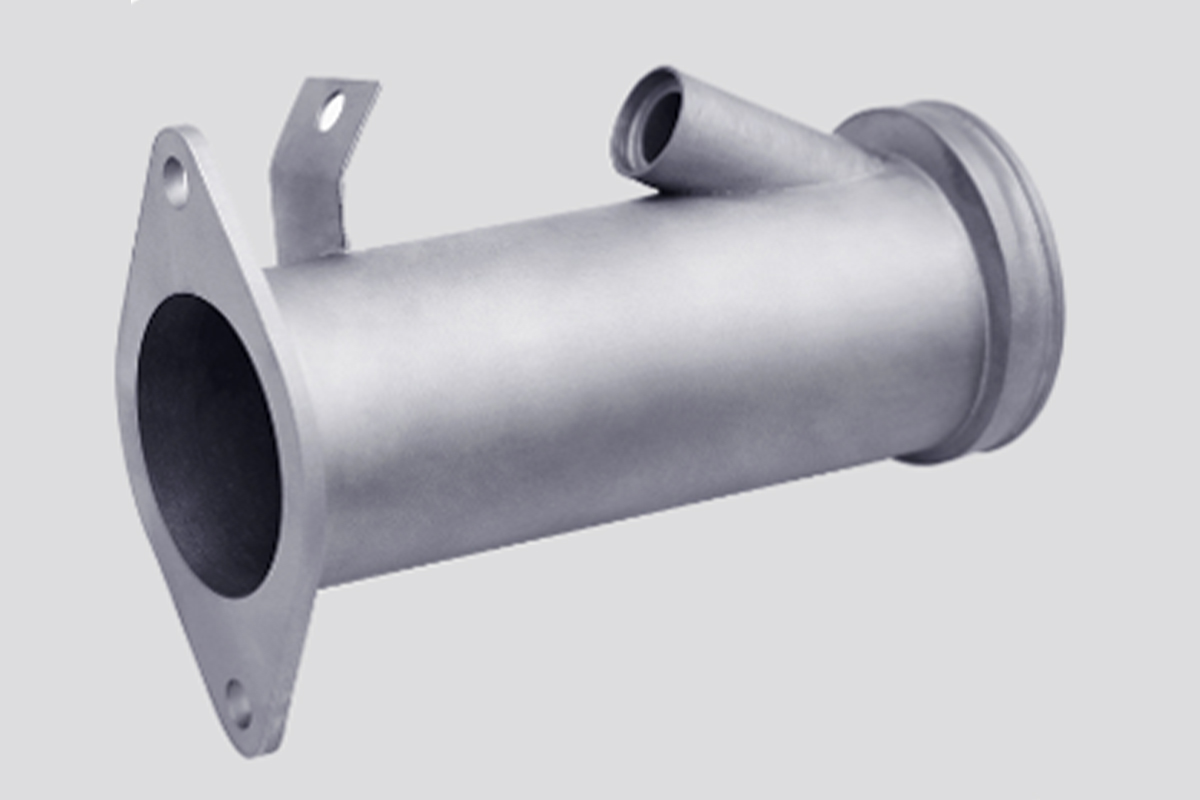
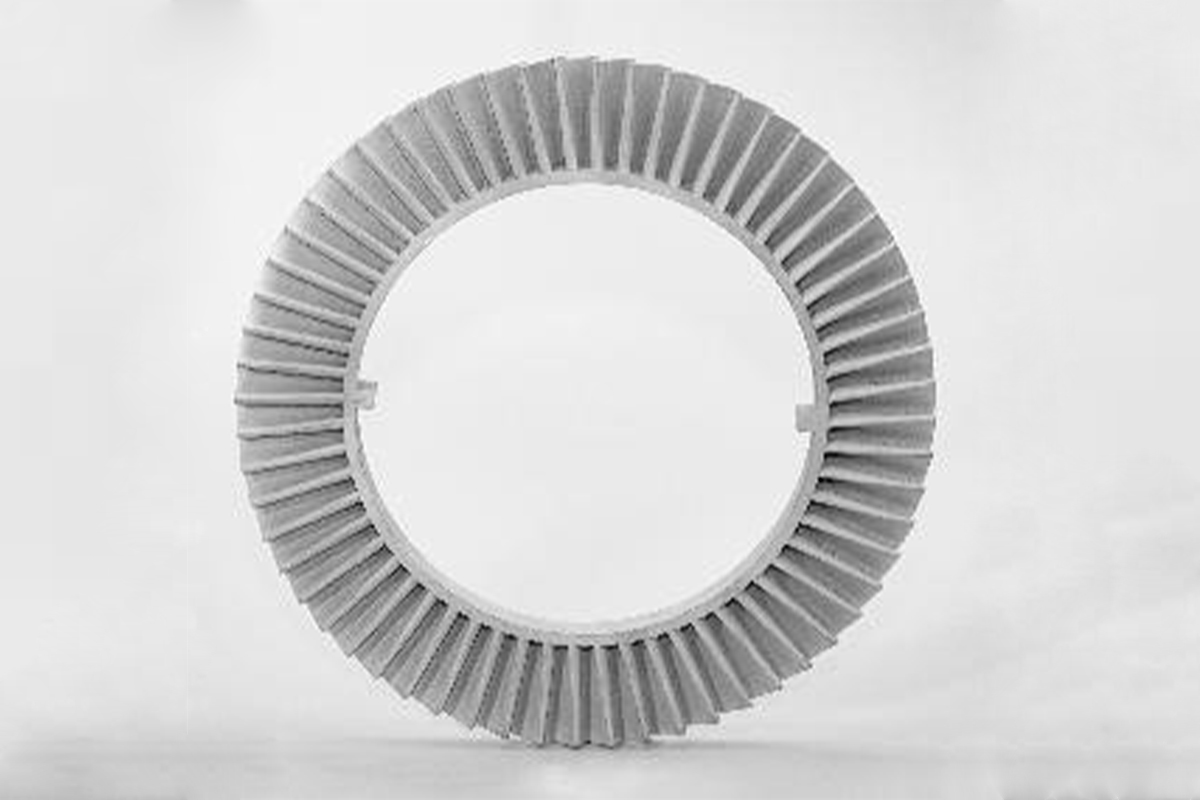
Metal (Aluminum, Stainless steel, Titanium),
Resin (PC, ABS, PP, ASA, POM, etc),
Nylon (PA6/66, PA12).
Elastoplastic (TPU, TPE,SEBS)
More than 70 materials available.
Processes of Surface Finish
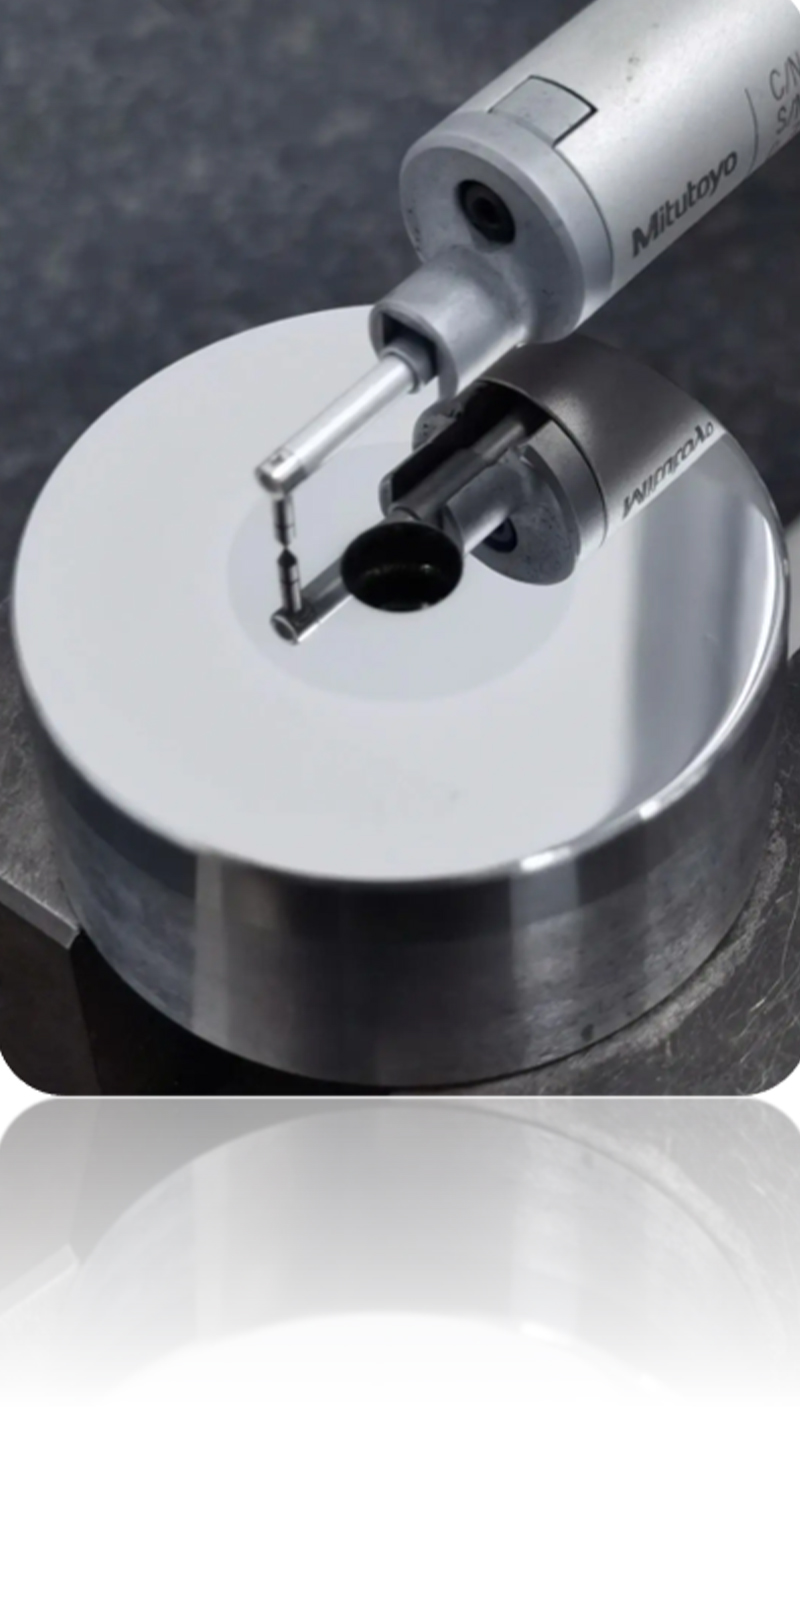
Polishing
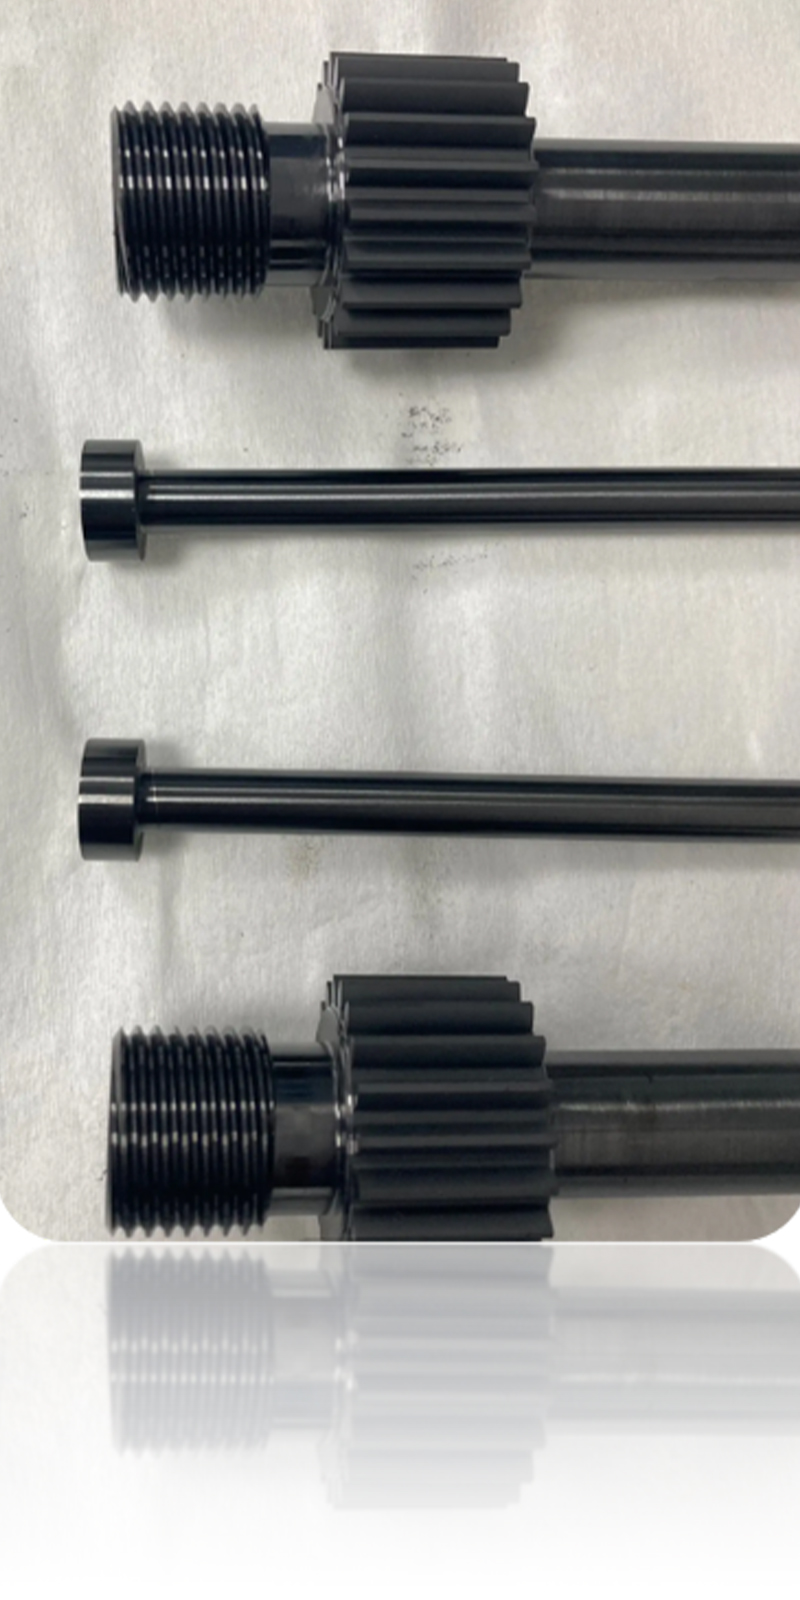
Coating
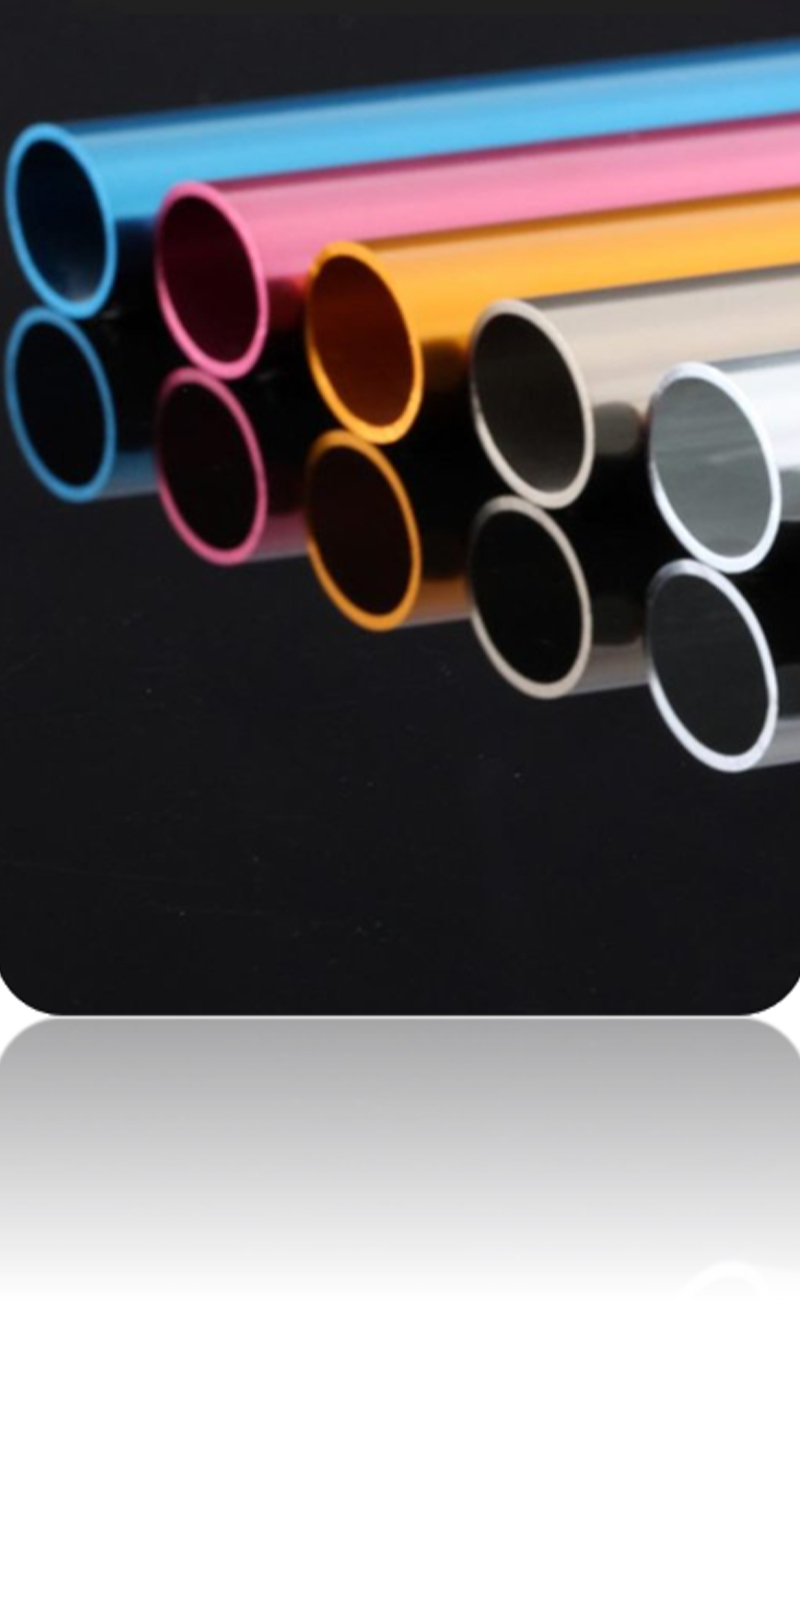
Anodizing
Electroplating
Benefits of Surface Finish
Enhanced aesthetics
Corrosion-resistance
Elimination of surface defects
Chemicals -resistance
Wear-resistance
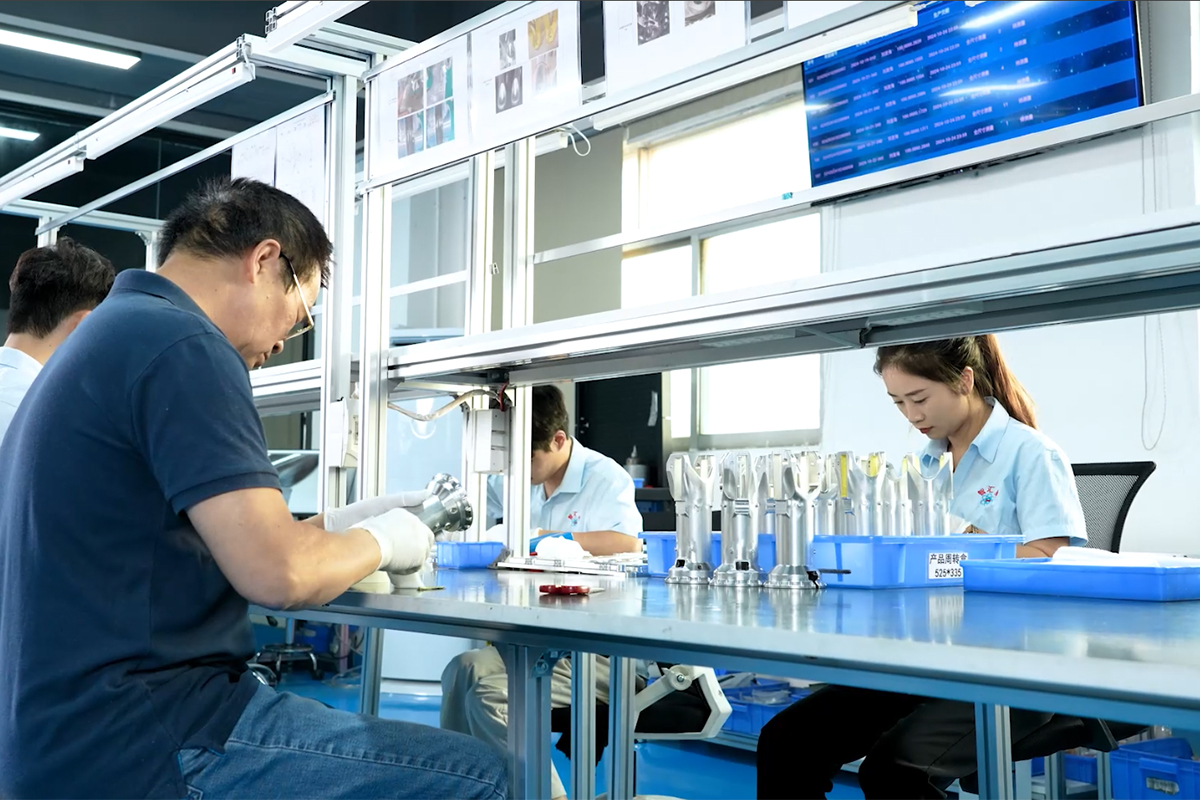
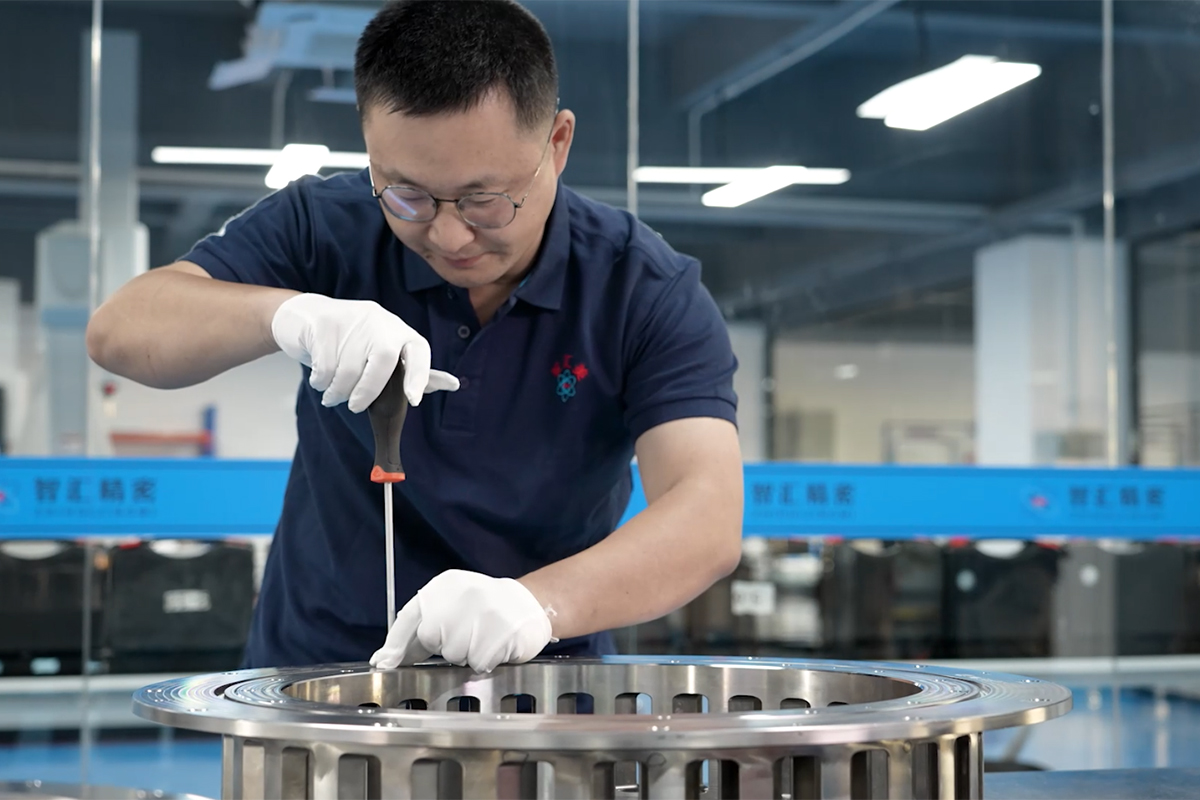
Undertake small batch production and assembly
Equipment List
| Production Processing Machinery List | ||||||||||
| No. | Type | Machine Name | Moldel | Brand | Working Dimensions (X,Y,Z,mm) | Precision (mm) | Speed | Country | Qty. | Purchase Date |
| 1 | 5-axis CNC | High Speed 5-axis (Heavy Cutting) | DMU95 Mono Block | DMG MORI | 950*850*650 Renishaw Online measurement | ±0.005 | 20000/RMP, | Germany | 1 | 2020 |
| 2 | 5-axis CNC | High Speed 5-axis | JD-Smart CNC 500E-DRTD | BeiJing JingDiao | 500*320*300 Online measurement | ±0.003 | 28,000/RMP, | P.R.C. | 5 | 2018-2020 |
| ※3 | 5-axis CNC | High Speed 5-axis | JD-Smart CNC 500E-DRTD | BeiJing JingDiao | 500*320*260 Renishaw Online measurement | ±0.006 | 28,000/RMP, | P.R.C. | 2 | 2017 |
| 4 | 5-axis CNC | High Speed 5-axis | JD GR300T (P15SHA) | BeiJing JingDiao | 390*510*300 Renishaw Online measurement | ±0.002 | 24,000/RMP, | P.R.C. | 1 | 2021 |
| 5 | 5-axis CNC | High Speed 5-axis | JD GR400T (P15SHA) | BeiJing JingDiao | 450*700*400 Renishaw Online measurement | ±0.002 | 24,000/RMP, | P.R.C. | 7 | 2021 |
| ※6 | 5-axis CNC | High Speed 5-axis | JD GR400T (P15SHA) | BeiJing JingDiao | 450*700*400 Renishaw Online measurement | ±0.002 | 24,000/RMP, | P.R.C. | 3 | 2018 |
| 7 | 5-axis CNC | High Speed 5-axis | JD GR500 (P15SHA) | BeiJing JingDiao | 550*750*450 Renishaw Online measurement | ±0.002 | 24,000/RMP, | P.R.C. | 2 | 2020 |
| ※8 | 5-axis CNC | High Speed 5-axis | JD GR500 (P15SHA) | BeiJing JingDiao | 550*750*450 Renishaw Online measurement | ±0.002 | 24,000/RMP, | P.R.C. | 1 | 2018 |
| 9 | 5-axis CNC | High Speed 5-axis Automatic tray | JD GR200T (P15SHA) | BeiJing JingDiao | 280*500*300 Renishaw Online measurement | ±0.002 | 24,000/RMP, | P.R.C. | 1 | 2021 |
| ※10 | 5-axis CNC | High Speed 5-axis Automatic tray | JD-GR200T | BeiJing JingDiao | 280*500*300 Renishaw Online measurement | ±0.002 | 24,000/RMP, | P.R.C. | 1 | 2018 |
| 11 | 5-axis CNC | Grinding-milling 5-axis | JD MRMG600 (P18SHA) | BeiJing JingDiao | 650*660*500 Renishaw Online measurement | ±0.002 | 24,000/RMP, | P.R.C. | 1 | 2024 |
| 12 | 5-axis CNC | High Speed 5-axis (Heavy Cutting) | GMU800EVO | AFMING | 850*950*550 | ±0.005 | 20,000/RMP, | P.R.C. | 4 | 2021-2024 |
| ※13 | 5-axis CNC | High Speed 5-axis (Heavy Cutting) | GMU800EVO | AFMING | 850*950*550 | ±0.005 | 20000/RMP, | P.R.C. | 1 | 2021 |
| 14 | 5-axis CNC | High Speed 5-axis (Heavy Cutting) | GMU600 | AFMING | 600*910*450 | ±0.005 | 20,000/RMP, | P.R.C. | 1 | 2023 |
| ※15 | 5-axis CNC | High Speed 5-axis | VMU-6800 | AFMING | 680*600*600 | ±0.005 | 12,000/RMP, | P.R.C. | 2 | 2022 |
| ※16 | 5-axis CNC | High Speed 5-axis | DMU-400 | AFMING | 586*370*350 | ±0.005 | 20000/RMP, | P.R.C. | 1 | 2018 |
| 17 | 3-axis CNC | 3-axis CNC (Engraving machine) | JD LVM550TZ_A13S | BeiJing JingDiao | 550*400*350 | ±0.005 | 24,000/RMP, | P.R.C. | 1 | 2019 |
| ※18 | 3-axis CNC | High Speed 3-axis | JD-LVM 400P | BeiJing JingDiao | 400/400/300 | ±0.008 | 36,000/RMP, | P.R.C. | 4 | 2019 |
| ※19 | 3-axis CNC | High Speed 3-axis | Caver PMS ATC-G | BeiJing JingDiao | 400/400/200 | ±0.01 | 36,000/RMP, | P.R.C. | 1 | 2020 |
| 20 | 3-axis CNC | 3-axis CNC | V37 | Taiwan SongFeng | 1300*700*600 | ±0.01 | 12,000/RMP, | China Taiwan | 1 | 2022 |
| ※21 | 3-axis CNC | Pinnacle Vertical Machining Centers | / | Taiwan SongFeng | 1300/610/610 | ±0.03 | 10,000/RMP, | China Taiwan | 1 | 2021 |
| 22 | 3-axis CNC | Vertical Boring Mills Triple | VF-2SS-V | HAAS | 762*406*508 | ±0.005 | 12,000/RMP, | USA. | 1 | 2022 |
| 23 | 3-axis CNC | Vertical Boring Mills Triple | VF-4SS-V | HAAS | 1270*508*635 | ±0.005 | 12,000/RMP, | USA. | 1 | 2022 |
| 24 | 3-axis CNC | Vertical 3-axis | V1160 | AFMING | 1100*650*600 | ±0.01 | 12,000/RMP, | P.R.C. | 4 | 2023 |
| 25 | 3-axis CNC | LongMin 3-Axis | HS-1585H | Taiwan Harvest Star | 1500*1700 | ±0.01 | 12,000/RMP, | China Taiwan | 1 | 2024 |
| 26 | 3-axis CNC | LongMin 3-Axis | HS-1712 | Taiwan Harvest Star | 1500*1800 | ±0.01 | 12,000/RMP, | China Taiwan | 1 | 2024 |
| 27 | Turning-Milling | CNC Turning-Milling Machining | LYNX2100LYB | Doosan | Ø300*500 | ±0.005 | 6,000/RMP, | Korea | 1 | 2021 |
| 28 | Lathe | Horizontal lathe | PUMA3050 | Doosan | Ø460*630 | ±0.005 | / | Korea | 1 | 2023 |
| 29 | Lathe | Vertical lathe | PUMA-V8305M | Doosan | Ø830*920 | ±0.005 | / | Korea | 1 | 2023 |
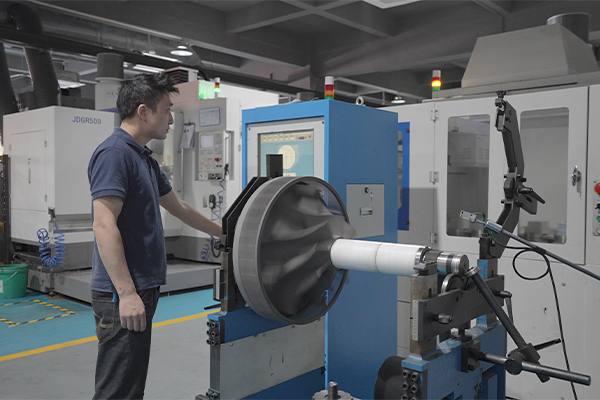
| 30 | Dynamic Balance | Dynamic Balance Machine | YYQ-500 | XinJinggong | Ø1.5m*2.6m | / | Max weight 500KG | P.R.C. | 1 | 2021 |
| 31 | Laser Engrave | Laser Engraving Machine | / | / | / | / | / | P.R.C. | 1 | 2021 |
| 32 | Tapping | Auto Tapping Machine | / | / | / | / | / | P.R.C. | 1 | 2022 |
| Total: | 56 | |||||||||
| Inspection Equipment List | ||||||||
| No. | Equipment Name | Moldel | Brand | Working Dimensions (mm) | Precision (mm) | Country | QTY | Purchase Date |
| 1 | CMM | CONTURA | Zeiss | 700*1000*600 | ±0.001 | Germany | 1 | |
| 2 | CMM | ALTERA M | LK | 1200*2000*1000 | ±0.001 | United Kingdom | 1 | |
| ※3 | CMM | CROMA 5/6/4 | SEREIN | 500*600*400 | ±0.002 | P.R.C. | 1 | |
| 4 | 2.5 Dimensional Detector | VMS-3020G | Marriot | 300*200*150 | ±0.002 | P.R.C. | 1 | |
| 5 | 2.5 Dimensional Detector | CS-4030H | MarriottCS | 400*300*200 | ±0.002 | P.R.C. | 1 | |
| 6 | 2.5 Dimensional Detector | NVC-543 | Deng Gong | 600*800*600 | ±0.002 | P.R.C. | 1 | |
| ※7 | 2.5 Dimensional Detector | VMS-3020G | SHANG Control | 200*300*150 | ±0.002 | P.R.C. | 1 | |
| ※8 | 2 Demensional Detector | CS-4030H | DEREIN 2 | 400*300*200 | ±0.003 | P.R.C. | 1 | |
| 9 | 2D Altimeter | V4-700 | Danzing | 700 | ±0.003 | Switzerland | 1 | |
| 10 | Handhe 3D Scanner | AtlaScan pro | Hexagon | / | ±0.01 | P.R.C. | 1 | |
| 11 | Handheld Spectrometer | X-MET8000 | Hitachi | / | Japan | 1 | ||
| 12 | Hardness Meter | TH LLO | / | / | 0-100 degrees | P.R.C. | 1 | |
| 13 | Digital Altimeter | / | Mitutoyo | 300 | ±0.001 | Japan | 5 | |
| ※14 | Digital Altimeter | 0-50.8mm | Veimi | 0-50.8 | 0.001 | P.R.C. | 2 | |
| ※15 | Digital Altimeter | 0-50.8mm | Mitutoyo | 0-50.8 | 0.001 | Japan | 2 | |
| ※16 | Microscope | SZM-7045TI | SUNNY SOPTOP | 50*200*200 | 外观检测 | P.R.C. | 2 | |
| 17 | Digital caliper | / | Mitutoyo | 100-1000mm | ±0.001 | Japan | 13 | |
| 18 | Calipers for inner diameter | / | Mitutoyo | 10-150mm | ±0.001 | Japan | 1 | |
| ※19 | Digital calipers | 0-150mm | Sanliang | 0-150 | 0.01 | Japan | 2 | |
| ※20 | Digital calipers | 0-150mm | Mitutoyo | 0-150 | 0.001 | Japan | 5 | |
| ※21 | Digital calipers | 0-300mm | Mitutoyo | 0-300 | 0.002 | Japan | 1 | |
| Total: | 43 | |||||||
 English
 Deutsch
 Español
 français
 日本語
日本語 русский
 한국어
한국어 italiano
 português
 العربية
 Türkçe
 中文
中文

